Why most wrapping goes wrong (and the one fix)
Badly wrapped gifts are almost never a skill problem. They are a measuring problem. Too much paper gives you bulky, tape-drowned corners; too little gives you the desperate patch of mismatched paper on the back. The fix used by every shop gift-wrap counter is boring and total: measure the paper against the box before you cut, crease every fold with your fingers before you tape it, and tape only in the middle. Master those three habits with the steps below and a plain box becomes a crisp, shop-looking parcel in about two minutes. The bow and the finishing touches — the parts people actually photograph — are at the end.
What you need
Wrapping paper (thicker paper creases better and tears less; very thin paper is false economy), sharp scissors, clear tape — or double-sided tape if you want invisible seams — ribbon, and gift tags. Work on a hard, flat surface, not a bed: half of all wrapping misery is a soft surface. If the gift is soft or shapeless (clothes, toys out of their box), put it in a box first. Wrapping a box is a solved problem; wrapping a jumper is interpretive art, and December is not the time.
Step by step: the standard box
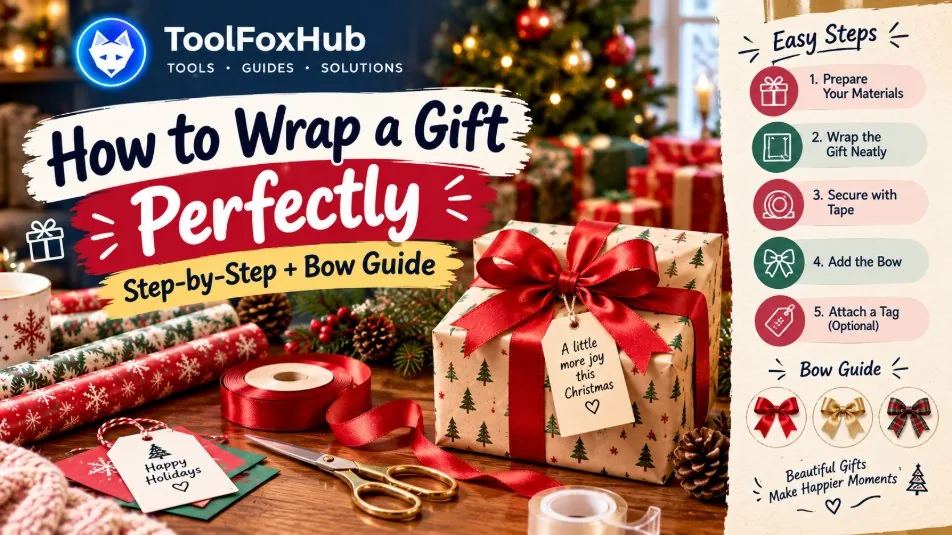
Step 1 — Measure before you cut. Roll the paper around the box the long way: you need enough to go all the way around with about 5cm (2 inches) of overlap. For the ends, the paper should extend past each end of the box by roughly three-quarters of the box's height — too long is the classic cause of fat, crushed ends, so measure this rather than guessing.

Step 2 — Centre the box, upside down. Place the box top-side down in the middle of the cut sheet. When you finish, the seam will sit on the bottom and the clean face of the parcel will be the top.
Step 3 — Fold the long sides. Bring one long edge over the box, crease it sharply along the box edge with your fingers, then bring the other edge over it. Fold that second edge under by about a centimetre first, so the raw cut edge disappears, and tape once, in the middle. One piece of tape is enough if the paper is measured right — that is the whole point of Step 1.
Step 4 — Close the ends: push, fold, crease. At one end, push the top and bottom edges of paper inward against the box so the side paper forms two triangles, like the flaps of an envelope being born. Crease all four new edges firmly. Fold the top flap down and crease, fold the bottom flap up over it, and tape once in the middle. Repeat at the other end.
Step 5 — The ten-second finish. Run your thumb along every edge of the box through the paper to sharpen the lines. This single habit is the difference between homemade-looking and shop-looking, and it costs ten seconds.
The bow guide: a simple loop bow
Ribbon first: lay the parcel on a ribbon cross — one length around the box lengthwise, one around it widthwise, crossing underneath, both ends finishing on top. Tie a plain knot at the centre. Now the bow, by the bunny-ears method every child already knows: make a loop in each ribbon end, cross the loops, tuck one through the gap, and pull gently until the bow sits evenly. Adjust by pulling the loops (to grow them) or the tails (to shrink them). Trim the tails at a diagonal, or cut a small V into each end for the classic swallow-tail. No ribbon? A strip of leftover wrapping paper folded into a fan, or a sprig of greenery tucked under a piece of twine, reads as deliberate and stylish — wrapping is mostly confidence.
Awkward shapes, honestly handled
A bottle. Stand it in the centre of a square sheet, gather the paper up around the neck, squeeze gently, and tie with ribbon at the neck so the paper fans above it like a cracker. Trying to wrap a bottle like a box is where good paper goes to die.
A round tin or tube. Wrap the side exactly like a box's middle, then at each circular end, work your way around folding small pleats down one by one, and finish with a circle of paper or a sticker over the centre. Pleats, patiently, beat one heroic fold.
Something huge. Join two sheets with tape on the reverse to make one big sheet (pattern-match if you can, nobody checks), or skip paper entirely: a fabric wrap or even a festive tea towel tied at the top is a legitimate, reusable answer for the gift that defeats the roll.
Soft gifts. Box them, or roll them in tissue and then in paper as a cracker shape with both ends twisted and tied. A cracker shape is charming; a lumpy rectangle is just a confession.
Tags, labels and the matching-tree trick
Write the tag before the gift goes under the tree — a pile of identical boxes wrapped at midnight is a memory test nobody passes, and our Christmas Gift Finder makes the same point about lists in general. Tuck the tag under the ribbon rather than punching holes at speed. And if you like the calm, coordinated look: wrapping every gift in one paper-and-ribbon combination, like the sage-and-gold style used in so many of this year's planners and journals, is not a lack of imagination — it is why some trees look designed and others look like a paper shop exploded. Vary only the ribbon if you need variety. If you are timing the wrapping itself, our last-minute Christmas gifts guide covers the delivery deadlines to work back from.
Frequently asked questions
How much paper do I need for a box? Enough to wrap around the box with about 5cm (2 inches) to spare, and to extend past each end by about three-quarters of the box's height. When you are between sizes, cut for the ends first — excess on the wrap-around can be folded under, but excess at the ends cannot be hidden.
How do I stop the corners tearing? Tearing usually means the paper is being pulled tight over a sharp corner. Leave a breath of slack, crease instead of pulling, and if a corner does poke through, cover the spot with the tag or a small sticker rather than starting again.
Double-sided tape — worth it? For gifts that will be photographed or given to adults, yes: seams and tape disappear and the parcel looks printed rather than repaired. For the family pile, ordinary tape and a confident crease are honestly enough.
What is the fastest respectable wrap for a pile of gifts? Measure once, and cut all your sheets assembly-line style; wrap the boxes in a batch, then ribbon and tag in a second pass. Two passes of ten beats ten gifts finished one by one, because your hands repeat the same motion instead of swapping tools.